| Awards | Changelog | Cheats | Codes Codex | Compatibility | Covers | Credits | DLC | Help Localization | Manifest | Modding | Patches | Ratings Reviews | Screenshots | Soundtrack Videos | Walkthrough | |
|---|---|
| Achievements GOG | In-Game | Origin | PlayStation Trophies | Retro Steam | Xbox Live |
Contrary to popular belief, Battlestations Midway is not a shoot-'em-up kind of game. It requires fast yet decisive moves for most maps. Act too slow and you're prone to being overrun quickly. Act too quickly and you will find your units will not behave the way you want them to.
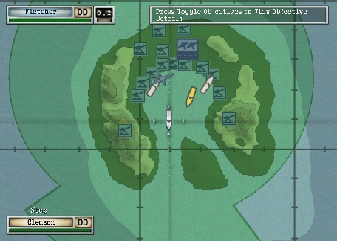
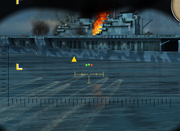
The Tactical Map
The tactical map at maximum magnification. Notice the gun emplacements surrounding the bay.
The Tactical Map, shortened in-game to "TacMap", is essentially the RTS element of Battlestations Midway. It is a very rudimentary RTS, with few advanced AI controls and no base or resource management whatsoever. However, the tactical map allows you to spot any enemy ships, planes, or subs under your detection range (submerged submarines are invisible unless detected by a destroyer's sonar).
Ships and planes alike can be ordered to move to a specific location through the TacMap. They can be also ordered to launch attacks against targets you specify. Ships can be ordered to join with other ships in groups known as "formations" through the TacMap, and planes can be ordered to CAP (Combat Air Patrol) almost any allied unit on the map (submerged subs are an exception).
The Tactical Map can also prove to be a very useful source of information. The map can be zoomed in up to three times, each time revealing more information.
At outermost zoom the map reveals very little. On the other hand you can see the entire battlefield all at once. At outermost zoom, only the lead ships and planes are shown.
At middle zoom, individual aircraft are hidden, but all ships are shown.
At maximum zoom, individual aircraft, land-based gun emplacements, and even torpedoes are among the many things the TacMap reveals. The TacMap's ability to detect torpedoes at long distances allows you to make manoeuvres earlier.
The TacMap can be toggled on and off at any time via the Tab key or through the Back button on your Xbox controller.
Ships
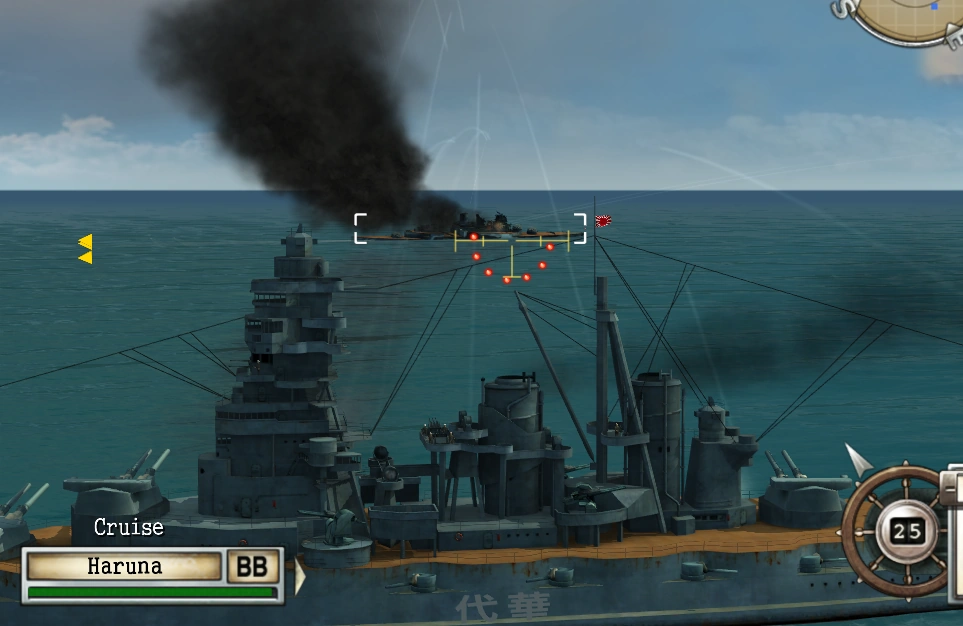
Battleships are the kings of naval artillery.
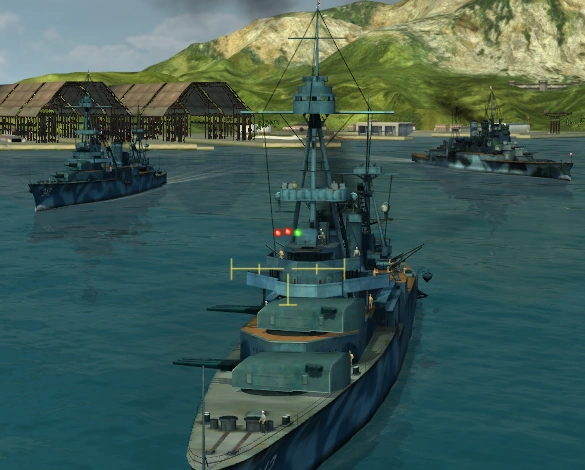
Ships are the core of any major engagement on Battlestations Midway; in fact, only one multiplayer map contains no ships whatsoever.
Unlike an RTS, ships cannot be replaced under normal circumstances. Ships can be launched through a shipyard, but very few maps have them, and the ones that do are often of a small variety that launches only patrol boats or recon planes. Ships therefore must be protected at all times; they are not as expendable as planes are.
Destroyers are also effective against other destroyers.
Ships come in several varieties. The playable versions are outlined below:
- PT - Patrol/Torpedo boat
- DD - Destroyer
- CL - Light Cruiser
- CA - Heavy Cruiser
- BB - Battleship
- CV - Carrier
- SS - Submarine (covered later)
Other ships include the AK (cargo ship), but they are not playable under any circumstance.
Ship Weapons
Ships have four main weapons systems. Not all ships, however, have all four; in fact, only destroyers and the Japanese PT boat have all four weapon types.
Torpedoes allow destroyers to attack targets much larger than they are.
- Anti-Aircraft: Consists primarily of machine guns and flak cannons. Machine guns cause more damage over time, but have limited range. Also, only direct hits count with machine guns. Flak cannons fire much slower, but cause more damage, strike higher, and cause area-of-effect damage. AA fire is also effective against PT boats and most forms of land-based AA.
- Artillery: Consists of large-calibre naval rifles. These weapons are used in ship-to-ship combat. Unlike AA, artillery shells travel in a parabolic arc and take some time to reach their target, so leading a target is essential.
- Torpedoes: These self-propelled underwater missiles cause a lot of damage when they strike a target, but their slow speed and requirement of a direct hit make them hard to use.
- Depth Charges: These are the only weapons capable of striking a submerged submarine. Torpedoes run too shallow to strike them. However, depth charges cause a lot of damage to a submarine even at near misses, and just a few depth charge hits is enough to fry a submarine.
Ship Types

Patrol boats can attack any ship, but their lack of armour limits their usefulness.
PT boats are one of the most versatile ships in the game. Their AA armament is very powerful, and they sport a two (Japanese) or four (American) torpedo arrangement, allowing them to harm ships of any size. They also have depth charges capable of annihilating submarines. Although they are impervious to torpedoes, they are vulnerable to machine gun fire and tend to end up in pieces very often.
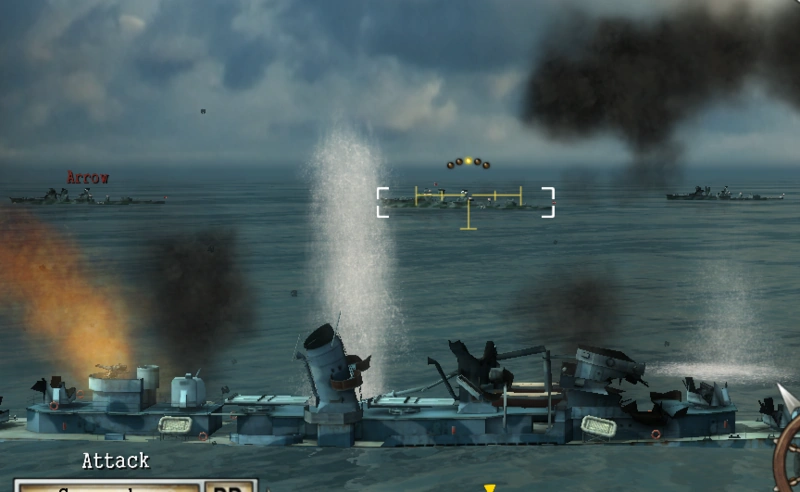
Destroyers double as AA ships often.
Destroyers are the next fastest ship. While considerably larger than PT boats, they are impervious to machine gun fire and sport reasonably powerful artillery. They are unique in that they have powerful long-range sonar that allows them to detect enemy submarines. Their main cannons for the most part also double as flak cannons, making them powerful anti-aircraft platforms. Destroyers also have powerful torpedoes.

Cruisers and battleships constitute the heavy guns of Battlestations Midway.
Cruisers come in the light and heavy flavours. Depth charges have been removed in favour of additional armament. Most Japanese cruisers have torpedoes, but only the York and Atlanta heavy and light Allied cruisers have them. In general, the American light cruisers are better than the Japanese, but the Japanese heavy cruisers are superior to the Allies'.
Battleships can easily disintegrate smaller ships.
Battleships are considered by many to be the kings of naval artillery. While most consider a submarine to be a battleship's main adversary, in truth a battleship's main enemy is actually another battleship. This is because once they're locked in combat, it's impossible for a battleship to retreat as doing so would pose an easy target.
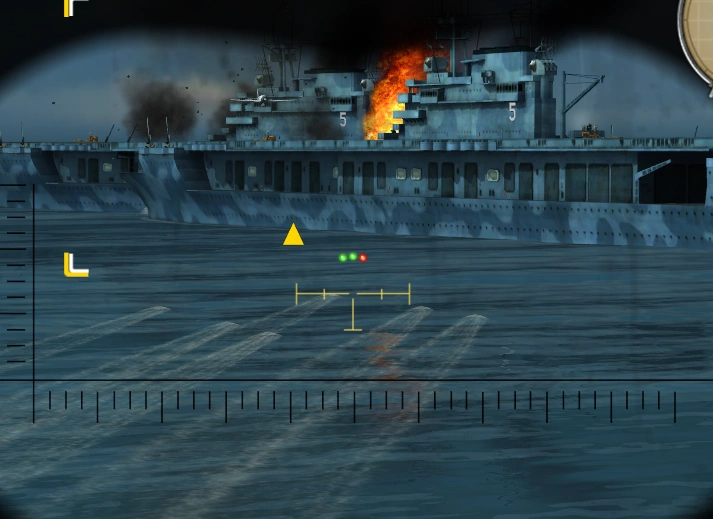
Carriers have only anti-aircraft armament, but their main weapon is obviously their massive wing of planes. Carriers do not have much armour and can be easily sunk if in weapons range of any ship.
Ship Emergencies


The ship status panel. Leaks are the arrows on the sides; fire, engine, and rudder indicators are centre.
When struck by various types of ammo, ships suffer damage to various components. There are several major malfunctions; when a section has suffered 100% damage, the section is destroyed and may or may not be able to be repaired.
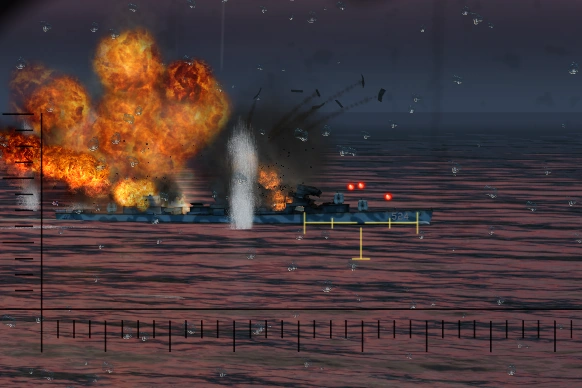
- Leaks, or hull breaches, are caused by torpedo strikes or by shells that strike a ship's belt armour. The ship slowly takes damage as water enters the ship. Water can be pumped out by a ship's crew and the ship will regain health; however, the crew also seals off watertight compartments on the ship, and they are unable to pump water out of sealed compartments.
- Fires start in either a ship's ammo magazine or fuel cache. The section will slowly take damage until it is destroyed, causing a large explosion. In multiplayer the explosion doesn't deal any damage (to prevent the one-shotting of ships), but in single player a magazine explosion will immediately sink a ship, regardless of how much health it has.
- Manoeuvring damage results in a detrimental effect on a ship's performance; engine hits will decrease a ship's top speed, while a rudder strike will prevent a ship from manoeuvring.
- Weapons damage is taken on an individual basis; all weapons on a ship can be damaged and destroyed. Weapons damage is generally easily repaired, but the entire turret will be inoperative for a large amount of time. This is particularly detrimental on ships with a lot of cannons on one turret, such as the Prince of Wales class.
- Flight Deck damage on an aircraft carrier will prevent it from launching or recovering aircraft.
Through the repair screen, ships can order one, two, or all of its three repair teams to tackle each emergency type.
Aircraft

Fighter planes are also effective against unarmoured surface enemies.
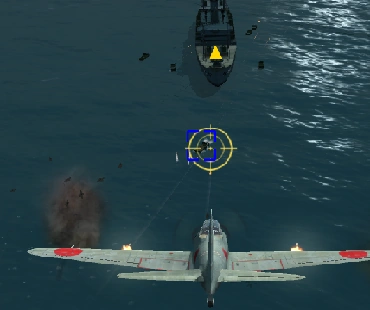
Aircraft come in several varieties. Aircraft also can manoeuvre in a full 360 degree motion. BSM is not a rail shooter by any means, and allows a player full control of a plane's pitch, yaw, and roll capabilities while simutaneously not having to deal with smaller issues like wind or G-forces.
- Fighters include the F4F Wildcat and the A6M Zero. These are the fastest and hardest-turning planes available, and are best used against other planes.
- Dive Bombers include the SBD Dauntless and the D4Y Judy. These planes are good fighters in a pinch, but their powerful bomb load makes them strong against most kinds of adversaries. Dive bombing is difficult to execute and causes little damage, but is difficult to stop with anti-aircraft. Dive bombers can also be equipped with depth charges for anti-submarine work.
- Torpedo Bombers include the TBF/D Avenger and the B5N Kate. Torpedo bombing causes a lot of damage and is quite easy to execute (so long as you aren't travelling at a high speed or at a high altitude; otherwise the torpedo will shatter upon striking the water), but is easy to stop with AA guns.
- Carpet Bombers include the B-17 Flying Fortress and the G4M Betty. Carpet bombing is highly inaccurate, but can prove devastating against large unarmoured targets, like carriers, airfields, and shipyards. Battleships are almost immune to carpet bombing due to their strong deck armour.
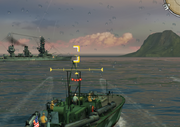
Submarines
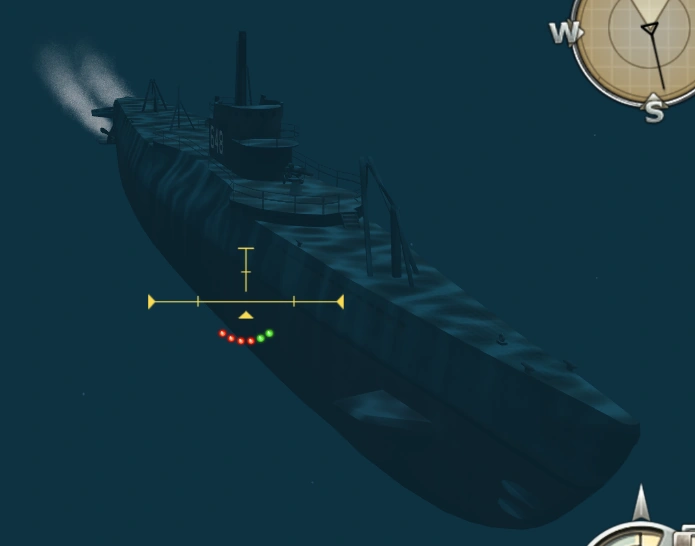

Submarines are slow, but their stealth and power are unmatched.
Submarines are very dangerous adversaries. Submarines are among the slowest unit in the game, but their torpedoes pack quite a wallop. Considering a typical submarine sports over 30 torpedoes, a single submarine can sink an entire enemy fleet single-handedly if given the right support.
Torpedoes are also highly ineffective against enemies at long range, and take a LONG time to reload. Their ability to hide underwater, however, makes them impervious to cannon fire (unless on the surface) and as such are devastating enemies to battleships.
Submarines do not have a lot of armour and can easily be fried by depth charges (plane-dropped charges can easily fry a submarine). Therefore subs require a lot of micromanagement and are best left to skilled players.
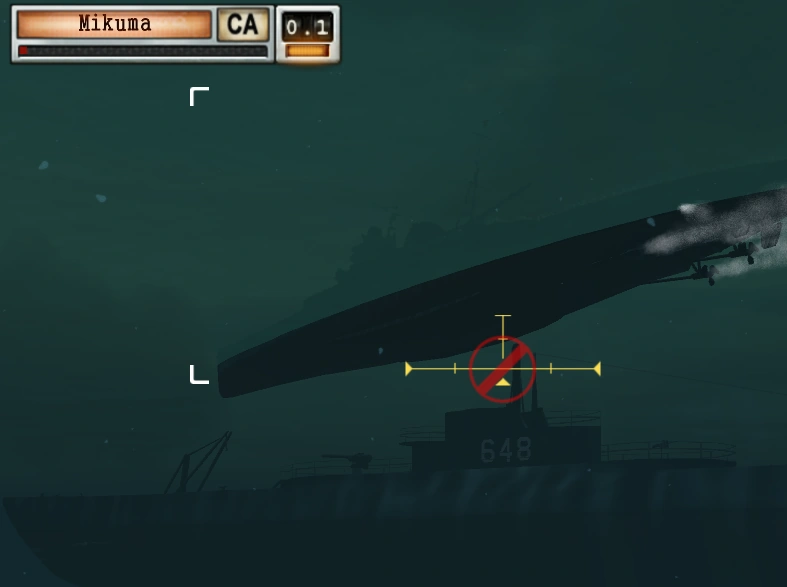

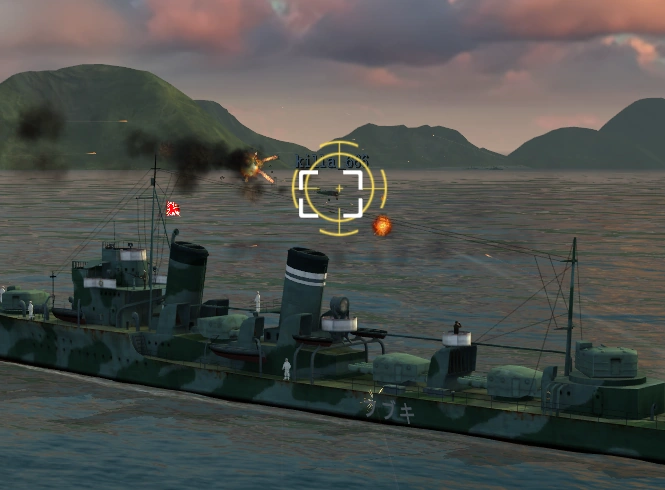
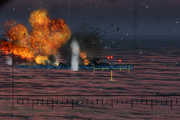
The Japanese cruiser Mikuma goes under after being torpedoed four times.
Submarines operate at four possible depths.
- Surface: A sub can use its deck gun and machine gun on the surface in conjunction with its torpedoes, but a sub can be struck by cannon fire and by torpedoes at this depth, making it very vulnerable. Despite this, it must surface every few minutes to replenish its air supply. If a sub runs out of oxygen, it automatically surfaces and becomes a sitting target for several seconds.
- Attack Depth: Also known as periscope depth, torpedoes can be launched from this level. The periscope can also be raised, allowing a sub to search its surroundings. Depth charges cause a lot of damage at this depth.
- Cruising Depth: Where most subs spend their time. Too deep for torpedoes or to use the periscope, cruise depth is where subs can hide from most enemies. All depth charges except those dropped by planes cause considerably less damage at this depth.
- Crush Depth: Pressure at this depth is so extreme that a submarine takes small but constant damage until it surfaces to cruise depth. Fortunately, a submarine is completely stealthed; it cannot be detected on sonar, nor can it be struck with depth charges. Its own sonar also goes dead, and it cannot view anything at all.
External links
Battlestations: Midway wiki guide at StrategyWiki